
Table of Contents
Bring restaurant-level crunch to your own kitchen! Master irresistibly crispy chicken tenders with a secret brine and the triple-dredge technique. Includes a spicy red dipping sauce that takes your meal to the next level.
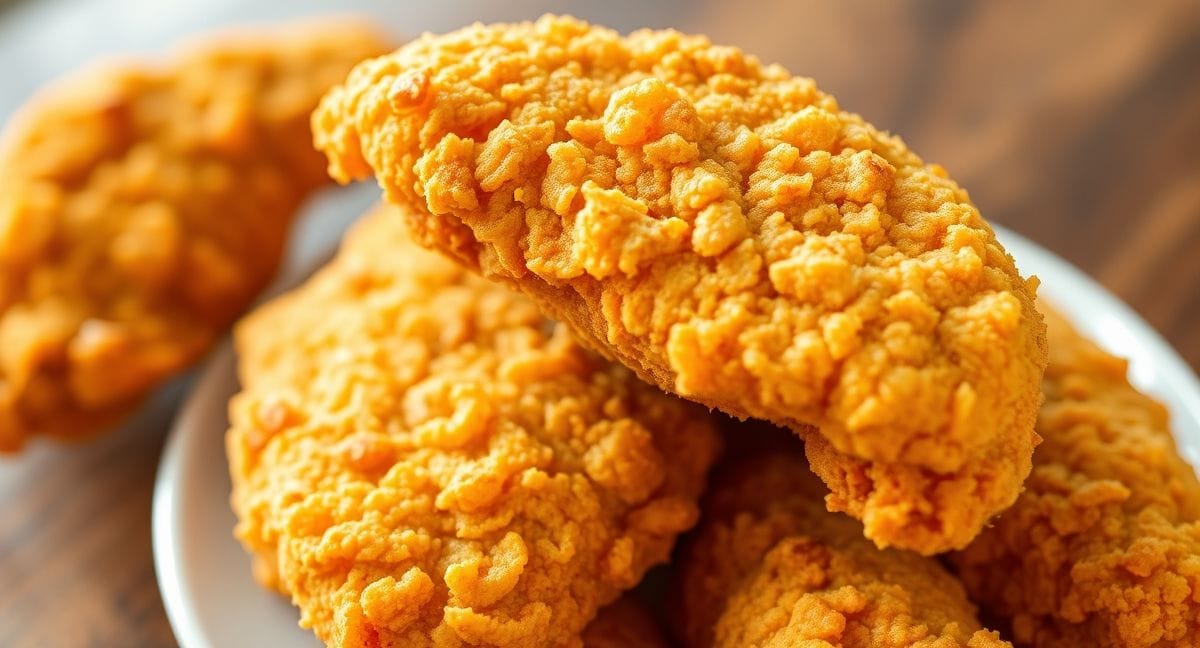
Few things say ‘summer comfort food’ quite like a platter piled high with piping-hot, crispy golden chicken tenders. Whether you’re cooking for a family backyard party, a casual dinner, or simply catering to a weeknight craving, homemade chicken tenders are guaranteed to delight.
Today, I’ll break down my foolproof method to achieve perfectly seasoned, golden-brown chicken tenders—crunchy outside, juicy inside—complemented by a bold, creamy spicy red sauce. Read on for my step-by-step guide, chef’s tips for crisp perfection, suggested variations, and ideas for serving the ultimate chicken tender platter!
Why This Chicken Tenders Recipe Works
- Deeply Flavored Chicken: Overnight brining infuses every bite with savory, spicy notes and keeps the chicken juicy.
- Unbeatable Crunch: The three-step dredge—plain flour, a bubbly wet batter, then seasoned flour—creates layers of texture for pro-level crispiness.
- Customizable Heat: Use hot sauce and cayenne to dial the spice up or down for everyone’s taste.
- Restaurant-Quality Sauce: Our tangy, spicy red dipping sauce pairs perfectly with hot, crunchy chicken.
What Makes Chicken Tenders So Special?
Chicken tenders, sometimes called “chicken fingers” or “strips,” are cut from the tenderloin portion of the chicken breast—a naturally tender, juicy, and mild-flavored cut. This makes them the perfect blank canvas for bold brines and a crisp, seasoned crust.

The key to truly exceptional tenders is not just the coating, but careful preparation—brining, proper dredging, and knowing the secrets to deep-frying at home with low mess and maximum crunch.
Ingredients You’ll Need
For the Chicken and Brine:
- 800g (approx. 1.75 lbs) chicken breast (about 3 large breasts)
- 1.5 tbsp kosher salt (for brine)
- 1 tsp cayenne pepper
- 2 tbsp hot sauce (Frank’s RedHot or similar)
- Water to cover
For the Seasoned Flour Dredge:
- 250g (about 2 cups) plain flour
- 1.5 tsp mustard powder
- 1 tsp celery salt
- 2 tsp garlic powder
- 2 tsp onion powder
- 1.5 tsp white pepper
- 2 tsp black pepper
- 1 tbsp paprika
- 0.5-1 tsp cayenne pepper (adjust to heat preference)
- 0.5 tsp MSG (optional, but highly recommended for umami and authenticity)
- 1.5 tsp kosher salt
- 2 tsp dried oregano
For the Wet Batter:
- 2 large eggs
- 0.5 tsp salt
- 120ml soda water (or cold seltzer/club soda)
For Frying:
- Vegetable oil / peanut oil (for deep-frying, at least 1-1.5 litres/quarts)
- Thermometer (recommended for oil temperature)
For the Spicy Red Sauce:
- 4 tbsp buttermilk
- 3 tbsp mayonnaise
- 1 clove garlic, minced
- 2-3 tsp hot sauce of your choice
- 0.5 tsp onion powder
- 0.25 tsp black pepper
- 0.5 tsp salt
- 1 tbsp honey
- 1 tbsp finely chopped fresh parsley
Ingredient Note: You can substitute chicken tenderloins if your grocery offers them separately, but slicing from whole breasts is cost-effective and guarantees freshness.
Step-by-Step Instructions: How to Make the Crispiest Chicken Tenders
1. Prepare the Chicken
- Remove tenders from breasts: Using a sharp knife, locate the tenderloin strip against the breast’s underside and slice away gently. If starting with whole breasts, cut vertically into thick, even strips (about 1 inch wide).
- Wash and pat dry: Rinse the strips lightly under cold water and dry thoroughly with paper towels. This ensures the brine sticks and the crust will adhere evenly.
Pro Tip: Consistent size means every piece cooks at the same rate, giving you maximum juiciness and no overdone stragglers.
2. Brine the Chicken
- In a large mixing bowl, combine 3-4 cups cold water, 1.5 tbsp salt, 1 tsp cayenne pepper, and 2 tbsp hot sauce. Stir until the salt dissolves fully.
- Submerge the chicken strips in the brine. Cover with plastic wrap and refrigerate for at least 2 hours, or ideally overnight.
Why Brine? Brining deeply flavors the chicken and locks in moisture, making a tastier, juicier tender. The small amount of hot sauce boosts flavor without overwhelming spice.
3. Make the Seasoned Flour Mixture
- In a wide, shallow dish, thoroughly whisk together the flour, mustard powder, celery salt, garlic powder, onion powder, white/black pepper, paprika, cayenne, MSG, salt, and oregano.
- Mix well for even distribution! Taste a pinch—the flavor should be bold and savory.
4. Create the Wet Batter
- In a large bowl, beat together 2 large eggs with 0.5 tsp salt.
- Just before dredging, pour in 120ml icy cold soda water. Whisk gently until only just combined—the fizz helps create a super-light, airy crust.
Tip: Cold soda water traps air in the batter, which crisps dramatically in hot oil. Don’t over-mix!
5. Dredge the Chicken—The Triple Crunch Method
- Drain and pat dry: Remove tenders from the brine and blot dry.
- First Dredge: Toss strips in plain flour and shake off excess.
- Dip: Move each flour-coated strip into the wet batter. Ensure every piece is fully coated.
- Final Dredge: Transfer to seasoned flour. Press flour onto the strips gently, shake off excess, and arrange on a wire rack to rest while you finish dredging all the pieces.
Rest the dredged tenders for 10-20 minutes before frying, if time allows—this helps the coating “set” and stay crisp after frying.
6. Heat Oil for Frying
- Fill a deep, heavy-bottomed pot or Dutch oven with at least 2 inches of oil.
- Heat to 160°C (320°F) over medium-high heat. Use an oil thermometer for accuracy.
Safety Tip: Never leave hot oil unattended. Have a lid nearby in case of emergency, and use long tongs for handling tenders.
7. Fry the Tenders
- Working in batches, gently lower 4-6 dredged tenders into the hot oil.
- Fry for 5-6 minutes, turning once, until golden brown, crisp, and the internal temperature hits 75°C (165°F).
- Remove chicken with tongs or a spider strainer and drain on a wire rack set over a baking tray (not on paper towels, as the steam will soften the crust).
Do not overcrowd the oil— this lowers the temperature and leads to soggy, greasy crust. Cook in small batches for best results.
8. Season and Rest
As soon as the tenders come out of the oil, sprinkle them lightly with your favorite finishing salt or a pinch of extra seasoning mix. Let rest on the rack for 3-5 minutes for maximum crunch.
How to Make the Spicy Red Dipping Sauce
- In a medium bowl, combine buttermilk, mayonnaise, minced garlic, hot sauce, onion powder, black pepper, salt, honey, and finely chopped parsley.
- Whisk well to combine. Taste and adjust seasoning—add more hot sauce if you like it fiery, or a hint more honey for sweetness.
- Cover and refrigerate until ready to use—flavors meld and deepen as it chills.
Customize it: Add a dash of smoked paprika or lemon juice for extra flair!
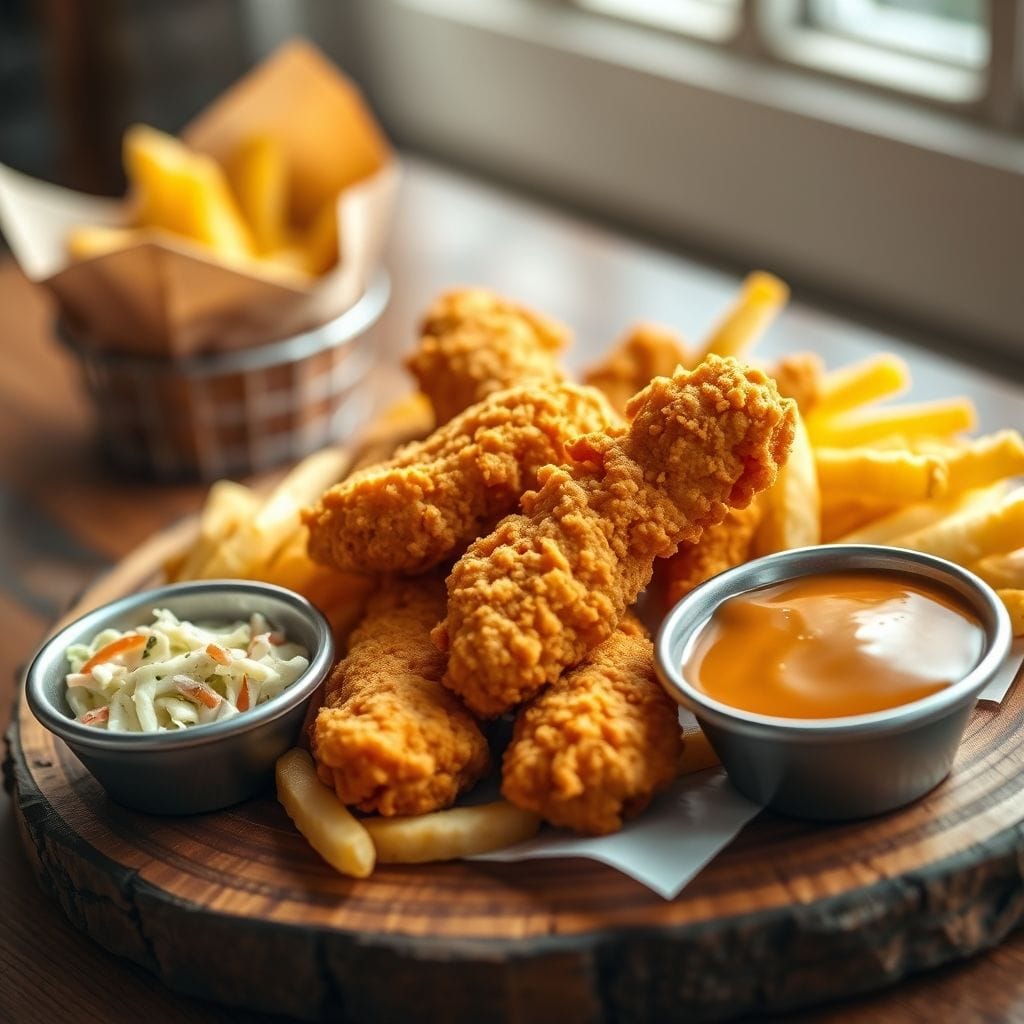
How to Serve Your Homemade Chicken Tenders
These crispy chicken tenders pair beautifully with:
- Hot, golden fries or potato wedges
- Creamy, refreshing coleslaw
- Crunchy dill pickles or bread-and-butter pickles
- Extra hot sauce for drizzling
- Classic summer sides: corn on the cob, sliced tomatoes, DIY salad bowls
Party tip: Pile tenders onto a warm platter with small bowls of dipping sauce for a crowd-friendly dinner or game-day snack!
Tips for Crispy, Juicy Chicken Tenders Every Time
- Brine ahead: Overnight brining delivers deeper flavor and juicier meat than a quick soak.
- Don’t skip plain flour pre-dredge: This first layer helps the wet batter stick—essential for crunch.
- Keep your wet batter cold: The fizzy bubbles help expand the crust and ensure a feather-light texture.
- Use a rack: Cooling cooked tenders on a rack (not paper towels!) helps keep them shatteringly crisp.
- Test oil temperature: Too cool, and tenders turn greasy; too hot, and the exterior burns before the inside finishes.
- Season right after frying: Salt or seasoning sticks best while tenders are hot and just out of the oil.
Troubleshooting & FAQ
Why is my coating falling off?
Moisture is the enemy of crispy crust! Be sure you blot chicken dry after brining, dredge thoroughly in each layer, and rest the dredged tenders on a rack before frying.
Can I bake these instead of frying?
While baking yields a different texture, you can bake at 220°C (425°F) on a greased, wire rack set over a baking sheet. Mist dredged tenders lightly with oil spray. Bake 16-20 minutes, flipping once, until golden.
Can I air-fry these?
Yes! Preheat your air fryer to 205°C (400°F). Arrange tenders in a single layer, mist with oil, and air-fry for 10-12 minutes, turning halfway, until crisp and cooked through.
How do I store or reheat leftovers?
- Cool cooked tenders completely, store in an airtight container up to 3 days.
- Best reheated in a hot oven (200°C/400°F, 8-10 mins) or air fryer to restore crunch.
- Tip: Avoid microwaving—the crust will soften!
What if I don’t have soda water?
Substitute with cold milk or water, but soda water creates those signature airy pockets!
Flavor Variations and Add-Ons
- Southern-Style: Substitute half the flour for cornmeal for an old-fashioned crunch.
- Extra Spicy: Use Nashville hot-style sauce—mix melted butter with cayenne and pour over just-fried tenders for serious heat!
- Herby Crust: Add fresh thyme, basil, or parsley to the flour dredge for garden-fresh flavor.
- Cheesy: Add 1/3 cup finely grated Parmesan to the seasoned flour for savoriness.
- Asian-Inspired: Swap some hot sauce for sriracha, and serve with sweet chili sauce or a wasabi-mayo dip!
Final Thoughts: Make These Tenders Yours!
Whether you prefer your chicken tenders mild and kid-friendly or want that full-on spicy, crispy glory, this recipe is endlessly customizable to your cravings. Brining and triple-dredging take the humble chicken tender from ordinary to extraordinary—crispy, juicy, full of real flavor.
Try mixing up your dipping sauces, adding herbs or spices to the flour, and don’t be afraid to experiment! If you do, be sure to share your results and tips in the comments below.

The Crispiest Chicken Tenders Recipe
Equipment
- Dutch Oven
- Candy Thermometer
- Wire Rack
Ingredients
Chicken & Brine
- 800 g chicken breast about 3 large breasts
- 1.5 tbsp kosher salt
- 1 tsp cayenne pepper
- 2 tbsp hot sauce Frank’s RedHot or similar
Seasoned Flour Dredge
- 250 g all-purpose flour
- 1.5 tsp mustard powder
- 1 tsp celery salt
- 2 tsp garlic powder
- 2 tsp onion powder
- 1.5 tsp white pepper
- 2 tsp black pepper
- 1 tbsp paprika
- 0.5 tsp MSG optional
- 1.5 tsp kosher salt
- 2 tsp dried oregano
Wet Batter
- 2 large eggs
- 0.5 tsp salt
- 120 ml soda water cold
For Frying
- 1 liter vegetable oil or peanut oil
Spicy Red Sauce
- 4 tbsp buttermilk
- 3 tbsp mayonnaise
- 1 garlic clove minced
- 2 tsp hot sauce
- 0.5 tsp onion powder
- 0.25 tsp black pepper
- 0.5 tsp salt
- 1 tbsp honey
- 1 tbsp fresh parsley finely chopped
Instructions
- Prepare Chicken: Remove tenderloins from breasts and cut into even 1-inch strips. Rinse and pat dry thoroughly.
- Brine: Dissolve salt, cayenne, and hot sauce in water. Submerge chicken, cover, and refrigerate 2 hours or overnight.
- Make Seasoned Flour: Whisk together all dry ingredients in a shallow dish until well combined.
- Prepare Wet Batter: Beat eggs with salt, then gently whisk in cold soda water just before dredging.
- Dredge: Drain and dry brined chicken. Coat in plain flour, dip in batter, then press into seasoned flour. Rest on wire rack.
- Fry: Heat oil to 160°C (320°F). Fry tenders in batches 5-6 minutes until golden and internal temp reaches 75°C (165°F). Drain on rack.
- Make Sauce: Whisk all sauce ingredients together. Refrigerate until serving.
- Serve: Sprinkle hot tenders with finishing salt. Serve immediately with spicy red sauce.